
 Andriy Andrunevchyn
I will describe here how to run blog on OpenShift and why I choose OpenShift. It’s not my first blog actually long time ago I run JUGLviv and choose blogspot on that time. 7 years later I decided to create something new with more flexible platform and better UI. So that WordPress was my choice. Actually I thought to order it in some design studio but even running some plain wordpress template cost around 1k USD so I did on my own. The most difficult thing was to find appropriate template, there are thousands free templates and even more premium ones but finally I did it. Idea of that blog is to collect blogs of other Ukrainian software developers so I called it Subreader and bought domain name on GoDaddy. I will explain later how to configure DNS records there. Then as usual You need hosting. It’s possible to keep you blog at home if you never switch of you PC otherwise there are two options 1) find some free hosting or 2) buy hosting. I decided to try free one. My first choice was Hostinger they offer 2GB space and easystart for WordPress. I setup my blog there but it worked extremely slow so I took premium account for a few months anyway performance was quite poor so when I started working on DEVua I need some other hosting. Short googling gave me next article – 12 Tips for Hosting WordPress on OpenShift. I had some minor experience so I decided to give it a chance. One minute registration and you will see welcome screen like this
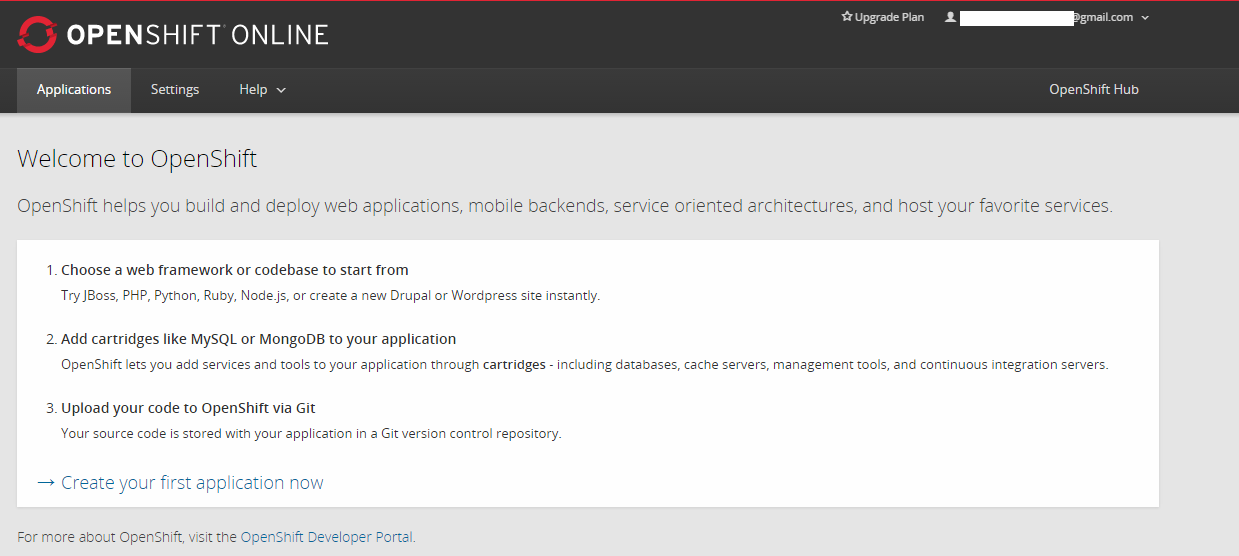
Just choose Create your first application now and you will see list of available preconfigured gears includes WordPress, Ghost, Jekyll and others. So if you continue with WordPress just input blogname and domainname (internal thing for OpenShift) also I would recommend instead No scaling choose Scale with web traffic and then press Create application

Such combination will consume two of three available gears. It could happen you will got alert below – don’t worry and try again
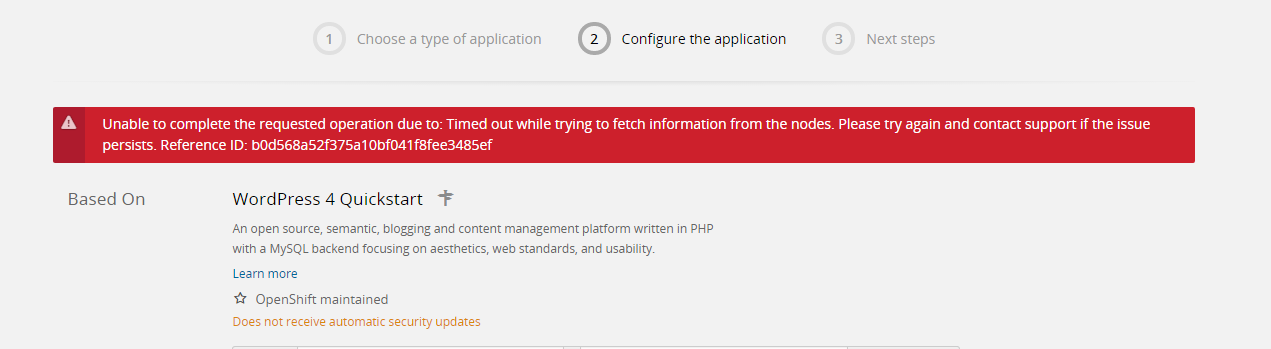
If everything fine then you will such screen
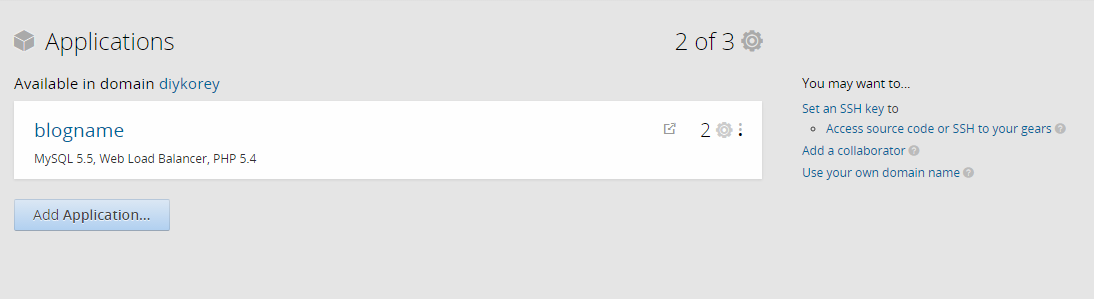
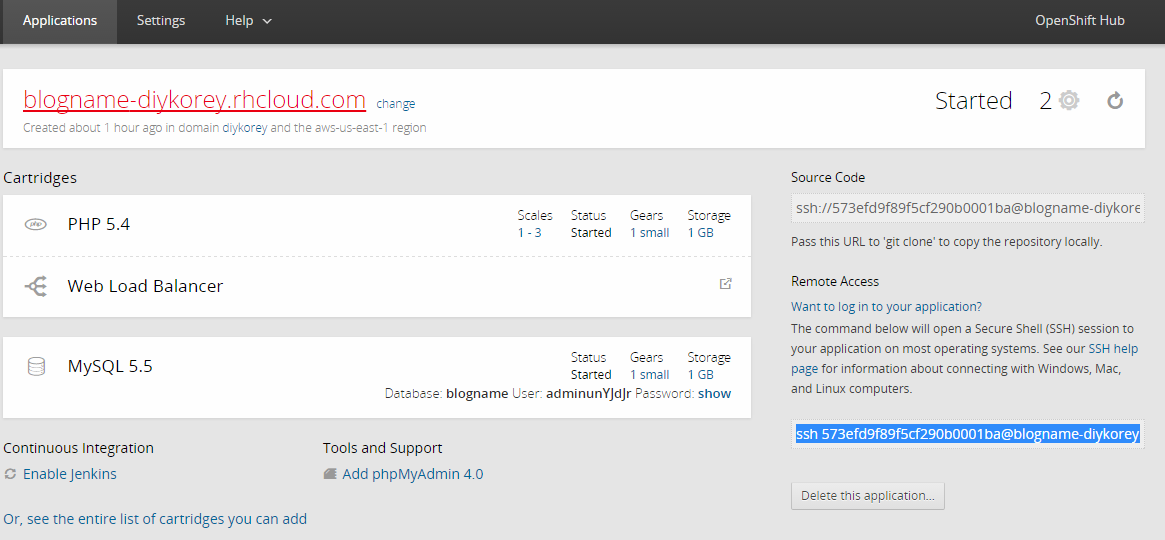
Click on blogname

You can see MySql consumes one gear and PHP consumes one more gear. Click on link 1 small in PHP row then you will gear config for PHP
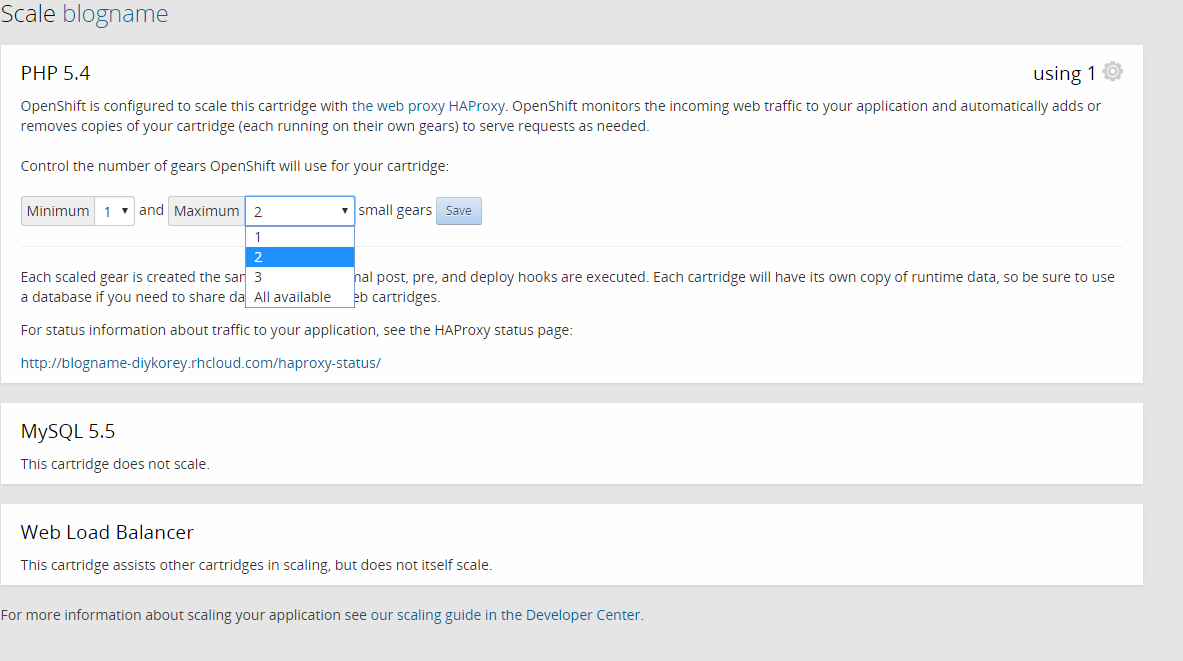
change parameter Maximum from All available to 2 gears It could be safer if you decide upgrade your price plan.
The next recommended thing is SSH public key
On right side of screenshot above you can see link add an SSH public key to your account click on it and you will see

So now you should generate key.You can do it with PuTTY. Download and install it then in PuTTY folder find and run puttygen.exe. Press generate and move mouse over blank area

when generator show public key enter passphrase and save both public and private key

Copy public key from box above to OpenShift console, type any public key name and press Create.

That’s it. Now if you open your your openshift app you will see

click on Want to log in to your application? and you fill find info for connection

Now you can connect to OpenShift gear with ssh client like WinSCP. Download, install and run WinSCP. Copy connection data to host name field

Then we should setup private key. Press Advanced button, choose Authentication leaf from tree and select private key file

Now you can login and connect to your gear and manage it when you need it.

So if you did everything above you can proceed to setup wordpress itself. Click on blog url
and you will be redirected to wordpress setup page
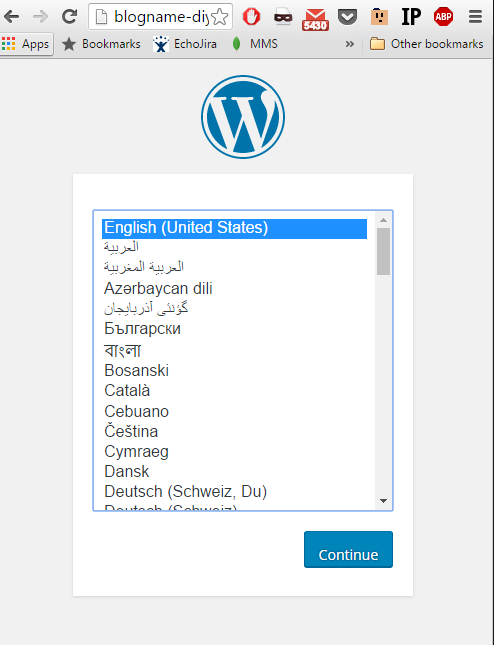
Follow instruction and soon you will be redirect to your blog

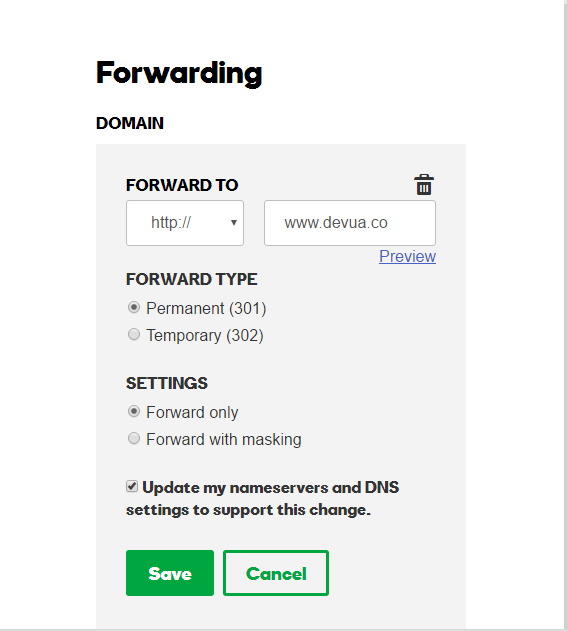
so the last thing it’s an ugly url https://blogname-diykorey.rhcloud.com/ you can asssign your own domain. There is only one trick OpenShift doesn’t provide dedicated IP so you should properly configure your DNS. First you should add CNAME www blogname-openshiftdomain.rhcloud.com Second configure forwarding like this
Go to OpenShift app page and click change

then type your domain name and save changes
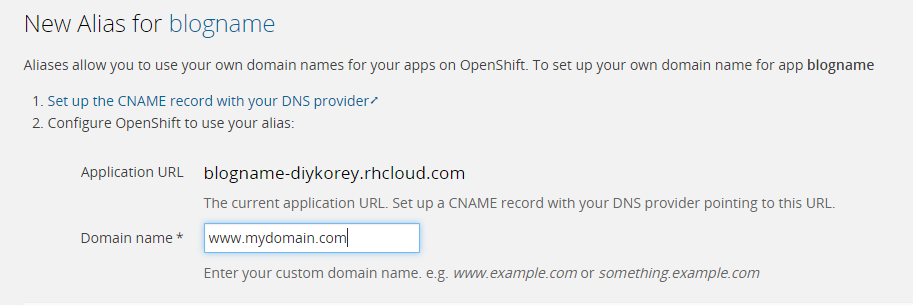
Check if your new domain www.mydomain.com works fine and then go to wordpress setings and change domain there

now you have completely ready wordpress blog on OpenShift. One more trick I could share it’s how to add SSL certificate to your blog. It’s useful if you create multiauthor blog like DEVua in such case you need certificate otherwise new author could be afraid to load untrusted page (login to wordpress only over https). So first of all you will need certificate – you can buy it or create for free. I used StartSSL only thing it doesn’t work with Chrome for some reason so open StartSSL in Firefox. Now when you have certificate you need connect it to openshift for that purpose you should upgrade your plan to Bronze level. OpenShift Bronze plan provides 3 free gears same as basic plan only difference you can take more gears and pay few cents per hour that’s why you have pay attention on number of assigned to PHP gears. When you open registration form for upgrading plan you will see

there is no Ukraine and many other countries available (even India) – don’t worry type fake address only credit card should be really valid. When you upgrade your plan you can go to app editing page, load your ssl certificate and save changes.

Actually I wrote everything I had discovered if you can add something more you are welcome
P.S.
Also if you would like to have your own mail like info@mydomain.com you can register account on Zoho Thx to Zoho you can send me mail on info@blog.devua.co
P.P.S. Now I have two blogs on free OpenShift hosting so you can check how it works Subreader and DEVua
